

How to test a fuse with a digital multimeter
Fuses are important safety devices in electrical circuits that protect against excessive current flow. When troubleshooting electrical issues, it is crucial to determine if a fuse is functioning correctly. In this article, we will guide you through the process of testing a fuse using a smart digital multimeter. With its advanced features and precise measurements, a smart digital multimeter simplifies the task and ensures accurate results.

Step 1: Gather the necessary tools
To test a fuse with a smart digital multimeter, you will need the following items:
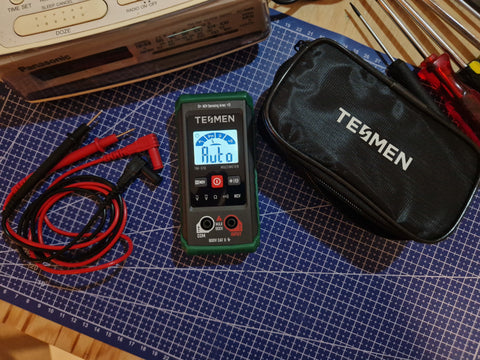
Smart digital multimeter: Make sure it is set to the appropriate mode for measuring resistance or continuity.
Fuse puller or insulated pliers: Used to safely remove the fuse from its holder.
Safety equipment: Wear safety glasses and gloves to protect yourself from any potential hazards.
Step 2: Prepare for testing
Before beginning the testing process, ensure that the power supply to the device or circuit is disconnected. This step is crucial to avoid electric shock and potential damage to the multimeter or the equipment being tested.
Step 3: Remove the fuse
Use a fuse puller or insulated pliers to carefully remove the fuse from its holder. Take care not to damage the fuse or surrounding components.
Step 4: Test for continuity
Continuity testing checks if the fuse is intact and can conduct electricity. Touch the multimeter probes to each end of the fuse. Polarity does not matter for continuity testing. If the fuse has continuity, the multimeter will emit a beep or show a reading indicating continuity. This means the fuse is still functional. If there is no continuity, it indicates a blown fuse that needs to be replaced.
Step 5: Test for resistance (optional)
Some smart digital multimeters allow you to measure resistance directly. If you want to test the resistance of the fuse, touch the multimeter probes to each end of the fuse. A good fuse should show a low resistance value, close to zero. If the multimeter displays a high resistance value or shows "OL" (open loop), it indicates a blown fuse that needs replacement.
Step 6: Replace or reinstall the fuse
If the fuse is blown, it must be replaced with a new one of the correct rating. Refer to the equipment manual or consult an electrician for guidance on selecting the appropriate fuse. Carefully reinstall the new fuse in its holder.
Conclusion: Testing a fuse with a smart digital multimeter is a straightforward process that ensures accurate results. By following the steps outlined in this article, you can quickly determine whether a fuse is blown or functional. Remember to always prioritize safety by disconnecting the power supply before testing and wearing appropriate safety gear. By mastering the skill of testing fuses with a smart digital multimeter, you can confidently troubleshoot electrical issues and maintain the integrity of electrical circuits.