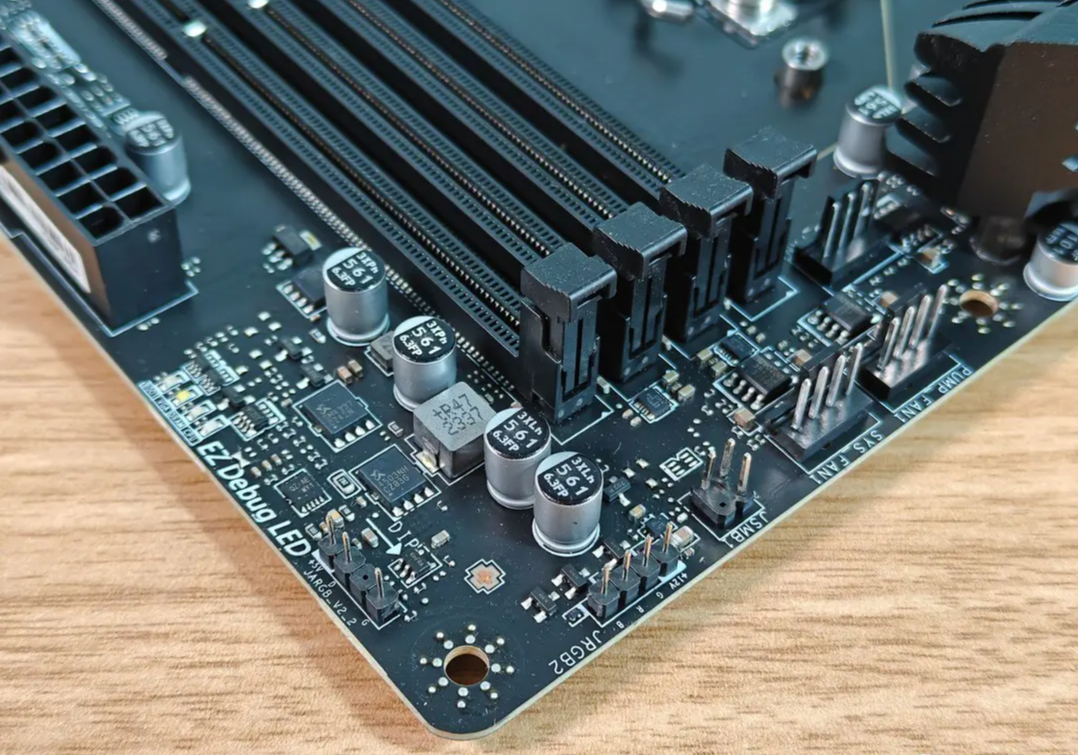
How to Test a Motherboard with a Multimeter
A motherboard is the central hub of your computer, and when it malfunctions, it can cause significant issues. One of the best tools to check for motherboard problems is a multimeter. This device allows you to check the voltage, resistance, and continuity of various components on the motherboard. Below is a step-by-step guide on how to test a motherboard using a multimeter.
Step 1: Preparation and Safety
Before you begin testing, make sure to turn off your computer and disconnect it from any power source. This ensures your safety and protects the components of the motherboard from damage.
Gather Your Tools
- Multimeter (digital preferred)
- Screwdriver to access the motherboard
- Anti-static wrist strap (optional, but recommended for static protection)
Step 2: Testing Voltage on the Motherboard
One of the primary uses of a multimeter when testing a motherboard is to ensure it's receiving the correct voltage. This is particularly important if your computer isn’t turning on or is experiencing random crashes.
Steps to Test Voltage:
- Turn the Multimeter On:Set it to the DC voltage setting.
- Locate the 20-pin ATX Power Connector:This is one of the main connections on the motherboard.
- Measure Voltage:Insert the black lead into a ground pin and the red lead into the power pin. The voltage should match the standard output expected by the motherboard (typically 12V for the main rails).
If the voltage is off, it could indicate a power supply issue or a damaged component on the motherboard.
Step 3: Checking for Short Circuits
Short circuits are a common issue with motherboards and can cause significant problems like hardware failure. To check for short circuits:
Steps to Test for Short Circuits:
- Set Multimeter to Continuity Mode:This setting will beep if the circuit is closed, indicating a short.
- Test Across Two Points:Place the multimeter probes on different points of the motherboard you suspect might be shorted.
- Listen for a Beep:If the multimeter beeps, this indicates a short circuit between those points.
Short circuits can be caused by damaged components or improper wiring. If you detect one, it’s best to consult a technician or repair service.
Step 4: Testing Capacitors
Capacitors are vital components on the motherboard responsible for storing and regulating electrical energy. A faulty capacitor can lead to various issues, such as random shutdowns or hardware malfunctions.
Steps to Test Capacitors:
- Set Multimeter to Ohms Mode:This will measure the resistance across the capacitor.
- Test the Capacitor:Place the probes on each terminal of the capacitor.
- Check the Reading:A good capacitor will show a gradual increase in resistance, then infinite. If the reading is stuck at zero or infinite immediately, the capacitor is likely damaged and needs replacing.
Step 5: Testing the Power Supply
If the power supply is delivering incorrect voltage to the motherboard, it can cause various issues. To test this:
Steps to Test the Power Supply:
- Set Multimeter to Voltage Mode:Adjust the setting to measure DC voltage.
- Test the Output from Power Supply Cables:Touch the red and black probes to the corresponding power cables (e.g., the 24-pin motherboard connector).
- Compare Results:Ensure the readings match the expected outputs listed in your power supply specifications. If the voltage is too low or high, the power supply may need replacing.
Frequently Asked Questions
How Long Does a Motherboard Typically Last?
The average lifespan of a motherboard is about 15 to 20 years, though proper maintenance can extend its life. Regularly cleaning the components and ensuring proper cooling can significantly contribute to its longevity.
Can a Motherboard Be Repaired?
It depends on the damage. Small issues, like replacing capacitors or fixing loose connections, can be repaired. However, severe damage to the board may require a full replacement.
How Do You Know if a Motherboard is Faulty?
Some signs of a failing motherboard include:
- Failure to boot
- Frequent crashes or errors
- Burning smells
- Visual damage like corrosion or burn marks
Conclusion
Testing a motherboard with a multimeter is a valuable skill that can help you diagnose and fix issues before they become major problems. By regularly checking the voltage, capacitors, and continuity of the motherboard, you can ensure that your computer runs smoothly. If you're not confident in your ability to troubleshoot or find serious issues, consult a professional for assistance.

